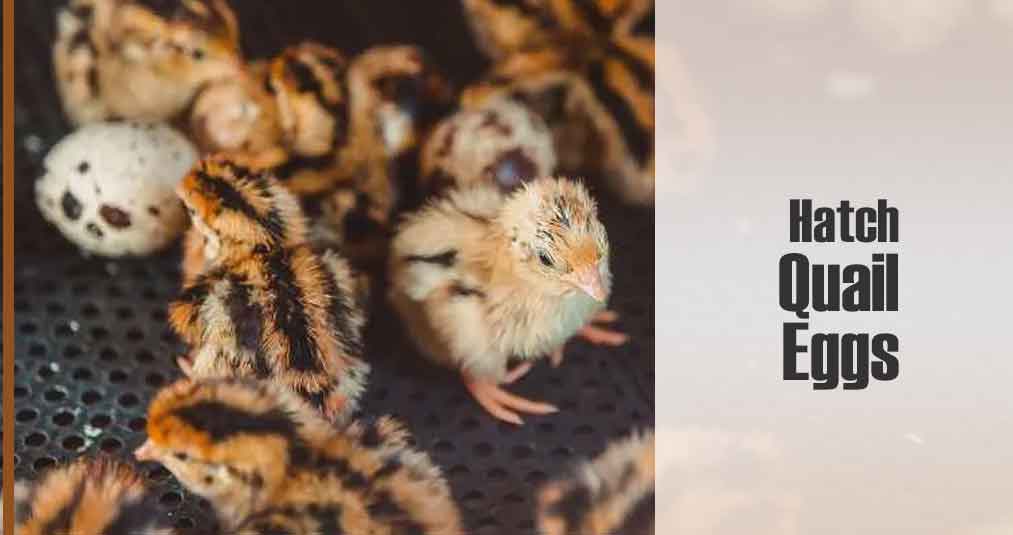
Raising quails is beneficial both in meat and eggs. The popularity increases because of low maintenance and a large number of eggs. Hatching quail eggs are also an easy task that saves you time and money. You can hatch with or without an incubator at your home, requiring only your concerns.
You need to buy good quality fertile quail eggs or talk with a farmer to provide you. Be careful about the whole process.
The Process of Hatch Quail Eggs
Buy Quail Eggs
Buying a large amount of quail can be expensive, but it is cheaper to buy the fertilized eggs and then hatch them yourself. Beginners should start hatching by purchasing eggs from another quail farmer. Remember, the source should be reputable to get good quality eggs. Also, the eggs should be treated and shipped carefully.
The quantity depends on the number of chicks you want. But some extra eggs as some of the incubated eggs may destroy while incubating. So they will be backup eggs.
Buy a Good Incubator
Hatching quail eggs are easy to process. Buy a good commercial incubator; the size depends on the number of quail eggs. The commercial incubator is a great help to beginners. An auto-turner incubator saves time, especially when you want to hatch a larger batch.
Start Hatching Eggs
Allow the Eggs to Sit
Do not just receive the eggs and put them into the incubator. The incubator needs preparation, and eggs need to sit for a while. It’s better to start the incubator at 100 degrees for two days and keep the eggs at room temperature that time. Eggs must be stable as they shook a lot during shipment and delivery. Do not forget to unwrap the eggs from the package. Also, check for the damaged and thin shell eggs and separate them.
Put The Eggs Into The Incubator
After preparing the incubator, put the eggs pointing up the small ends to the incubator. This way, the eggs are safe from deformities and other health problems.
Set a Reminder
Quail eggs require 18 to 27 days to hatch fully. You may forget about the hatching or turning of the eggs regularly. If the incubator does not have an auto-turner, you need to do it with your hand. So better to set a reminder about egg turning and hatching. Then, set a 15- and 18 days reminder to check the hatching process. Also, you must turn the eggs at least three times a day until day 15.
Keep an eye on The Temperature.
Check the temperature of the incubator daily. The temperature should be around 100 degrees, but sometimes it grows. So a digital readout incubator is good. Also, keep track of the inside conditions and, if possible, use a thermometer to double-check the temperature.
Maintain Humidity
The humidity level should be around 44% to make the hatching easier. Also, the born-to-be chicks won’t be dehydrated during this hatching time.
Candling Eggs or Not?
After 7 to 10 days, it’s better to check the developing process of the eggs, and most farmers check the eggs with a candle. But it’s better not to open the incubator except by adding water and changing the humidity level. Also, quail egg shells have a black color print, so it’s challenging to see the inside with a candle.
Lock Down The Incubator
After putting the egg, lock down the incubator for at least 15 days. Adjust the humidity level to 65% and add cool and warm water. Too high or too low humidity damage the eggs. Use distilled water to prevent bacteria and pathogen growth. Do not open the incubator during the lockdown time; otherwise, the sudden temperature and humidity level change will damage the membrane inside the egg.
On day 14, Take out the egg turner assembly, or the chicks will get stuck and die. Unplug the automatic turner and remove the eggs from the rails. Put the eggs on the hatching floor.
Add Gravel Paper
The floor of the incubator is too wide for quail chicks, which causes injury to them right after the hatch. Put some gravel paper on the hatching floor, and place the eggs on the paper. Do this process as soon as possible not to change the incubator temperature. Rubber shelf liner also works well.
Wait
The waiting time could be 18 days to 25, but hatching usually completes between 16 to 18 days.
Hatching Day
You will hear a tiny cheeping sound coming from the incubator. This means the chicks are ready to break the eggshells.
Grind The Baby Quail Food
Baby quail cannot eat adult food, so the foods need to be grind before giving them. The food should have at least 30% protein, and you can make the food easily. If you have a coffee grinder, grind the food with it. Also, you can purchase online.
How to Hatch Quail Eggs Without an Incubator
If you don’t have an incubator or cannot afford one, you can still hatch quail eggs. Either use a quail hen to sit on the eggs or make an incubator. Making an incubator at home is easy and simple. You will need a Styrofoam cooler. First, cut a hole at one side of the cooler to attach a bulb, then insert a 25-watt bulb and socket. Attach them with duct tape, and put a wire mesh in the middle of the cooler. So the baby quail cannot go near the bulb.
After that, add the thermometer and gauge to the incubator, then put a wet sponge on the incubator to adjust the humidity. Attach a glass lid to the cooler and turn the light on. Keep the light on for two days to monitor the temperature and humidity. The temperature should be 99.5 degrees during the hatching process.
Now put the quail eggs and keep track of the temperature and humidity. If the temperature rise, punch a small hole in the side of the cooler.
