One thing you can not deny is that poached eggs are essential for breakfast. However, preparing perfectly poached eggs is not that easy. You will have to invest a good amount of time and effort into them. Well, we struggled with making poached eggs as well.
However, as we found the egg poacher, things became easy peasy for us. But we learned a lesson when using the tool. The lesson is that if you do not know how to poach an egg with an egg poacher, you will not be able to take full advantage of the tool.

How to Poach an Egg with an Egg Poacher
And we took our time to properly learn how to use it. However, there are not that many proper guides out there. That is why we have decided to make one by ourselves. So, if you were struggling to use this tool, then this guide is for you!
For Stovetop Poachers
As you know by now, there are different types of electric egg poachers. Well, we have had the luck to use all of the types. Also, you have a chance of getting any of the types. So, we have decided to cover the using procedure for each of the types. And we are going to start with the stovetop poachers. The Steps are as follows:
Step 1: Bring Water to Simmer in the Pan
First of all, you need to get yourself a pan. Fill it up with water. The water should be less than ½ inches inside the pan. Anything higher than that can cause the eggs to poach differently, which we do not want here. Place the pan on top of the stovetop and turn the heat on.
Our recommendation here would be to keep the heat on the medium level. It will lower the chances of you making a mess. Additionally, if the water boils vigorously, it will make the egg whites splash out, which will create a mess inside and outside the pan.
Step 2: Crack the Eggs
After bringing the water to a simmer, you would need to crack the eggs and place them in an individual poaching cup. However, we would recommend spraying some cooking oil on the cups. This will prevent the eggs from sticking to the bottom.
Additionally, if the eggs seem too large to you, first, crack them in a measuring cup. That will make the process of getting them into the poaching cup easier. Also, if you are not using the other cups, fill them with water. And make sure you do not break the yolks while putting them into the cups.
Step 3: Place the Cups on the Pan
Once you put the eggs on the cups, you need to place the poacher on the pan. Make sure that the water of the pan touches the very bottom of the poacher. Also, do ensure you put a lid on the top. That will secure the poacher and prevent the heat from escaping.
Step 4: Cook for a While
Now that the poacher is on the pan, all you need to do is wait for two to three minutes. However, if you do not want your yolk to be runny, wait for at least five minutes. The longer you wait, the less runny and firmer the yolk is going to be.
And if you are not sure when the eggs are cooked, check the whites and the yolk. The yolk should be soft, while the whites are going to be pale.
For Microwave or Electric Poachers

The version you might have might not be the stovetop one. Instead, you might have an electric or microwave version. Well, if that is the case, follow these steps:
Step 1: Read the Instruction and Fill the Poacher
First, you need to read the instruction that came with the box. Check how much water is the manufacture suggesting. Keep that measurement in your mind and fill exactly that amount of water that the manufacturer is suggesting.
On that note, the microwave poachers are going to require ½ teaspoon of water for each of the cups. So, if you are using a four-slot poacher, the total amount of water would be two teaspoons. The same goes for the electric versions as well.
Step 2: Heat up Poacher If you Are Using an Electric Version
Now, if you are using an electric egg cooker, plug it in inside a power outlet. It should start heating up right away. And once it starts heating up, the cups are going to take about five to ten minutes to heat up completely.
However, if the version that you are using is a microwave version, you can skip this step entirely.
On that note, many of the electric versions are going to come with different accessories. Those would allow you to make hard-boiled eggs. However, we are not going for hard-boiled eggs, are we? But do check if there is anything that will help you make the poached eggs better.
Also Check: Electric Incubator Reviews
Step 3: Coat the Cups with Cooking Spray
Now, you should get a cooking spray and spray each of the cups of the poacher. Do make sure that make the coats that thick. A thin coat will be more than enough to prevent the eggs from sticking.
After coating the cups with the spray, break the eggs and carefully place them on the cups. Like the previous method, make sure that you do not break the yolks while placing them on the cup. However, if you are not using any of the cups, pour a small amount of water into them. It will prevent the other cups from overheating.
Step 4: Pierce the Eggs If you Are Using a Microwave Poacher
If you are using a microwave poacher, you need to pierce the yolks. This piercing will prevent the yolks from bursting inside the microwave. However, do make sure that you do not pierce the yolks more than once if you want to get the best results poaching result.
Step 5: Let the Eggs Cook
While letting the eggs cook, pour a little amount of water on top of the cups if you are using a microwave poacher. This will make sure that the eggs poach perfectly healthy inside the microwave. However, do ensure that you are closing the lid after pouring the water on the cups.
Run the microwave run at a high temperature for at least 30 seconds. Then check whether the eggs are done or not. If they are not done, let them cook for another 30 seconds. When the yolks are soft, and the whites are completely white, take the poacher out of the microwave.
For the electric cookers, close the lid and let it cook for at least six minutes. Some of the machines have their own dedicated timer. That timer will stop the machine automatically.
Also Check: Automatic Chicken Door Reviews
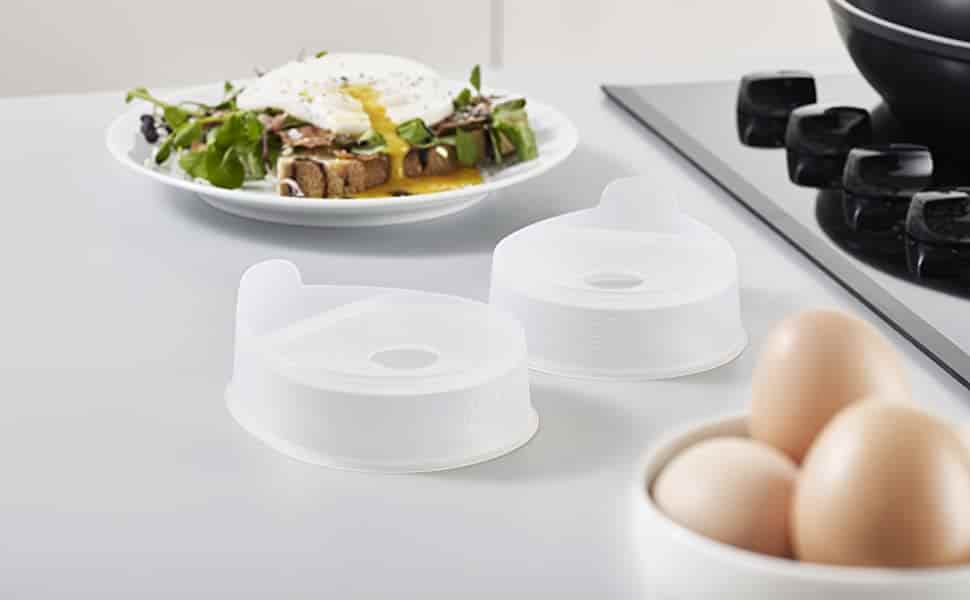
For Silicone Egg Pods
Lastly, many people opt for silicone egg pods. These are also capable of making good egg poaches. And the steps you should follow to poach eggs on these are:
Step 1: Coat the Cups with Cooking Spray
First of all, coat the cups with cooking spray. Like you know, this coat will prevent the eggs from sticking. If you want a bit more flavor, coat the cups with butter. However, make sure that the coating is not that thick, or else the egg will be too oily.
Step 2: Boil ½ Inches of Water Inside a Pot
Take about ½ inches of water inside a pot and boil it on top of a stove. Put the heat into the medium level. Then put the lid on top of the pot and let the heat do its work. It should take about five minutes.
Step 3: Put the Eggs on the Pod
Now, you need to place the eggs on the pods. Make sure that you do not crack the yolk of the eggs while placing the eggs on the pod. Place the flat side of the pod on the top of the water. Make sure that it floats on the surface, and if any water does manage to get inside the pod, the eggs are not going to poach properly.
Step 4: Let the Eggs Cook for a While
For the silicone pods, you would want a wooden tong or a ladle to remove the pod. Do note that it will take about 7 minutes to cook. However, if you like to keep the yolk runny, you might want to keep the egg on the top for less than 7 minutes. Also, if you are having trouble taking out the eggs, use a spoon.
Final Words
After reading the entire article, we hope you are no longer wondering how to poach an egg with an egg poacher. Just follow the steps properly, and you should end up with perfectly poached eggs.