Keeping your chicken coop clean and sterile is the first thing you need to ensure if you’re planning on keeping the diseases away. You need to do a thorough disinfecting at least once a year. Especially when you’re bringing new flocks or if you notice that the chickens are getting sick one after another.
But the question is, how to disinfect a chicken house?
The disinfecting process is not that much of a hassle if you know the right way to do it with an efficient plan. In this article, I’ll tell you all you need to know about disinfecting a chicken house. From the cleaning equipment to the step-by-step process, you’ll find it all here.
Why Is It Important to Disinfect the Chicken House?
Disinfecting the coop is essential to reduce or eliminate the health risks of the chickens. Salmonella and Campylobacter are the kinds of bacteria that can live in the intestines of these poultry birds and spread through the droppings. As the droppings are all over the place, chickens are exposed to these bacteria.
Besides many harmful bacteria, some disease-causing parasites are attracted to the poultry food and water in the coop. If the chicken coop is not sterilized every once in a while, these micro-organisms tend to cause fatal diseases and contaminate the whole place.
Diseases like Salmonella enteritidis (SE), Mycoplasma, Marek’s disease, Respiratory viruses, E-Coli, and Mites are the most common ones. Then again, some diseases don’t just affect the health of the kitchen but the egg production and quality as well.
Things You’ll Need to Disinfect a Chicken House
The right pieces of equipment can make any job more manageable. Without all the necessary equipment, you won’t be able to do the job effectively and efficiently. That’s why, before starting the process, you need to make sure to have these things at your disposal –
- Scraper
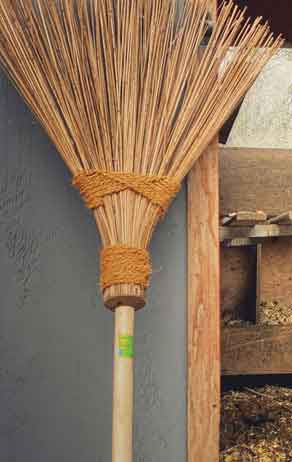
- Broom/ Sweeper/ Scrub Brush
- Shop Vaccum
- Low-Pressure Sprayer
- Cleaning Agent
- Disinfectant
- Hose Pipe
- Air Blower or Fan
- Shovel
- Trash Bucket
How to Clean & Disinfect a Chicken House: A Step-By-Step Guide
Disinfecting a chicken house is quite different from cleaning your own house. First of all, it’s a lot of work. And secondly, each of the steps must be executed thoroughly. If you skip a major step, your purpose of disinfecting the house won’t be accomplished. So make sure to follow the whole process –
Temporarily Relocate the Chickens
First of all, you need to relocate the chickens to a clean and dry place. The disinfecting process could take a while. So, make sure that the chickens are well-fed and watered. Chickens usually poop almost every 30 mins and roughly 15 times a day. So, before changing chicken bedding, find a place to relocate the chicken. Keep this information in your head while choosing the place for the relocation.
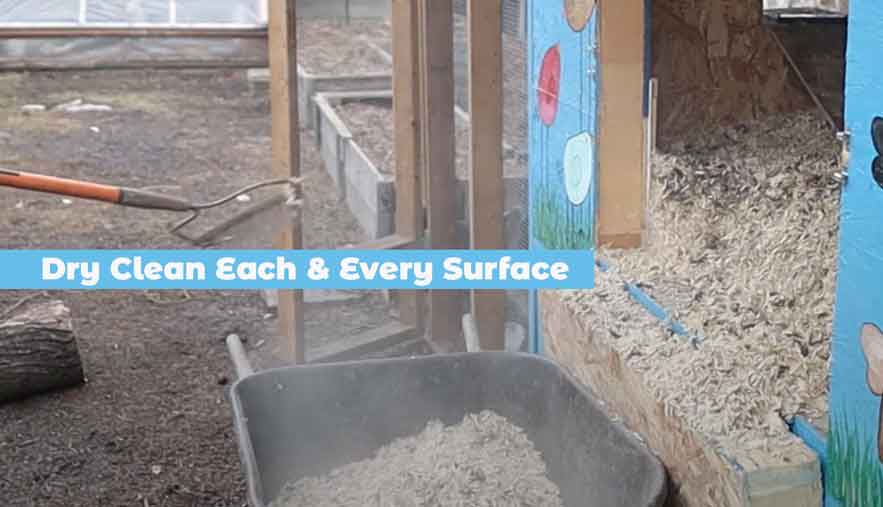
Dry Clean Each & Every Surface
Remove whatever you can from the coop to ensure you have access to every corner of that place. Prior to removing the feeders and the drinkers, make sure the feeders are empty. Wear a mask and gloves; now it’s time to begin the dry cleaning process.
Scrape Off the Stubborn Stuff
Use the scraper to get rid of the dried-up droppings and stubborn dirt from the roosts and perches. Chickens spend a significant portion o the day in cages. So, you also need to scrape off the poop and concrete dust from the cages.
Clean the Loose Dust & Cobwebs
Using the air blower, remove the loose dust and cobwebs from the pet chicken cage’s walls, ceiling, fans, and wires. Use the blower on the perches and resting nests as well. It’ll help to get rid of the scraped dirt off the surface.
Shovel All the Manure & Dirt
Use the shovel to scrape manure and dirt off the floor and put it in the trash bucket. Once the job gets done, take the bucket and empty it out somewhere. In case you didn’t know, chicken litter can be used for compost as it’s high in Nitrogen. It takes about 6 weeks for the litter to get composted.
Sweep the floor Thoroughly.
You can’t get all the dirt off the floor using the shovel. The shovel helped you to get rid of the heavy amount and saved you a lot of trouble. Still, you need to sweep the floor with a broom or long-handled floor scrub brush. Use the wet-dry shop vacuum at the end for the finishing touch. Just make sure, when using the shovel, you don’t brake the chickens’ water system or feeder.
Time for Wet Cleaning
Wet cleaning is another significant step in this process. Even after scraping, shovelling, and brooming, the chicken nesting box place still won’t be dust free. But the wet cleaning will make sure that all the flying dust and residues are cleaned and wiped away with the water. Here are the 3 steps we will follow for wet cleaning –
Soak the Whole Place
Use a sprayer or hose to soak every surface of the chicken house. If there are dirt and manure that can’t be scraped off, soaking will help you to soften that. The whole thing will be more effective with hot water (about 160° F). Makes sure to turn off all the electric lines before starting the process.
Scrub Each & Every Surface
The disinfectant won’t work on a surface that’s covered with dirt and manure and waste from chicken feeders. That’s why this cleaning part is so important. You can use a scrub or stiff brush for this job. You can use neutral detergent if you want, but it’s not compulsory. A manual scrubbing works just fine for a thorough cleaning.
Take a Hose to It
Once you’re done with the scrubbing and washing, you need to rinse everything. Use the hose pipe to rinse the walls, perches, cages, roosts, and the floor. Take your time and make sure that all the manure and dust particles are washed away with the flow of water.
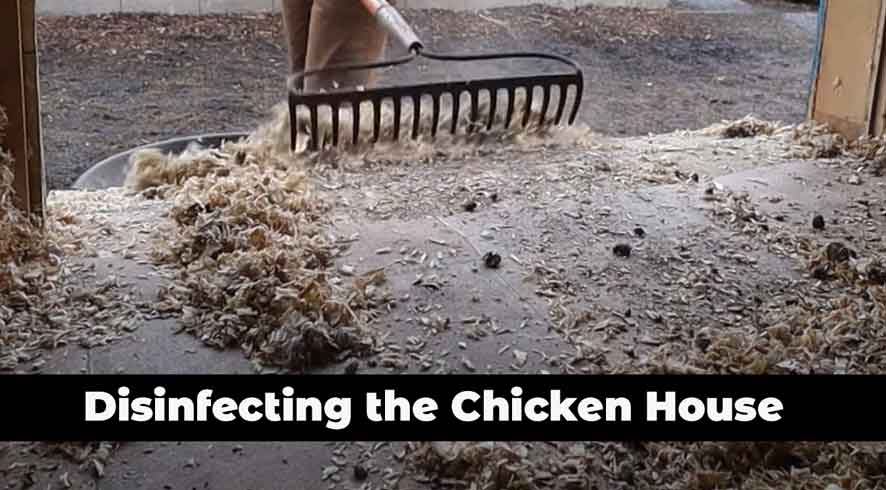
Disinfecting the Chicken House
After the wet cleaning, leave all the doors and windows open for a couple of hours. Keep the fans on to dry up the place quickly, and keep the removable things out in the sun. You can also use the air blower machine for this job. It’ll help you to blow air in every corner of the place.
Choosing the Disinfectant
There are lots of disinfectants out there, but for a chicken house, something natural, like vinegar, works best. Vinegar will help you get rid of all the bacteria and germs from the poultry hatchery without causing any harm to the chickens.
On the other hand, cleaning agents like bleach contain harsh chemicals that can cause irritation for poultry birds.
How to Apply
Once the place looks roughly dry, bring back all the accessories that were kept outside for drying. Pour the same amount of water and vinegar somewhere and mix it. Pour the mixture into the sprayer and spray it in each and every corner. Also, put the big or small egg incubator and other machines out of the process.
Make sure you don’t skip any surface on any accessories. This could take a while, based on the size of your coop. You can also go with fumigation or aerosols if you find those more convenient.
Final Thoughts
Disinfecting the house is crucial to keeping poultry birds healthy and alive. Being exposed to germs and bacteria can be fatal for chickens, especially the small ones. If a chicken gets sick, all the other chickens are at a considerable risk of getting affected. And as it has an adverse effect on egg production as well, a situation like this is not suitable for any chicken farm.
This article on ‘how to disinfect a chicken house’ will help you to keep your chicken coop sterile and eliminate the chances of any diseases. Hopefully, you found this article helpful.